 テストサーバー内でElementorで編集してサイトが完成し、いざ本番サイトへデータを移す時に便利なのが、WordPressで構築したサイトを丸ごとコピーできるプラグインDuplicator。これで引っ越しも簡単にできますっ!
静的なHTMLであればコピーして本番サーバーへアップすればいいけど、データベースを使用したWordPressではなかなか簡単にはいきません。
では順番に説明していきます!
テストサーバー:Duplicatorプラグインをインストール
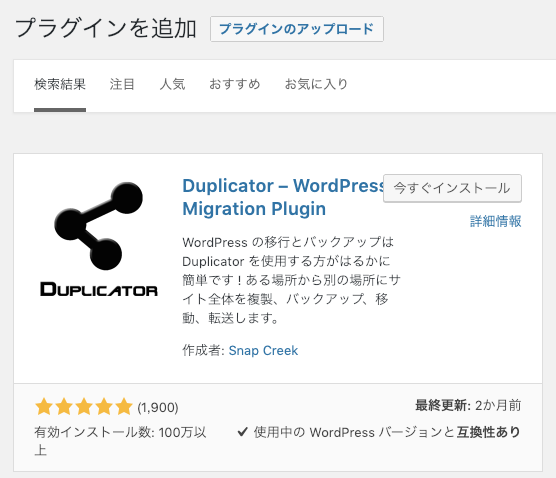
プラグイン>新規追加に移動し「Duplicator」で検索。インストール&有効化します。
続いてWordPress>Duplicatorメニューを選択。
![]()
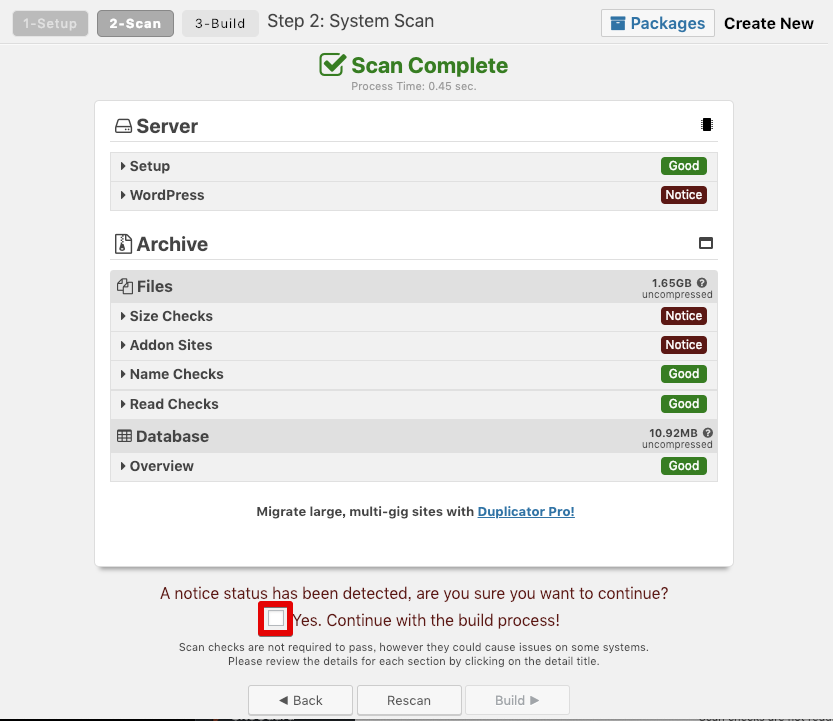
Create Newを選択し現在のデータ一式をパッケージ化します。
画面の指示に従い次へ進みます。
画面下のチェックボックスをチェックして「Build」ボタンを選択します。
パッケージ中画面になるのでしばらく待ちます。
パッケージ化が完了するとこのような画面になります。
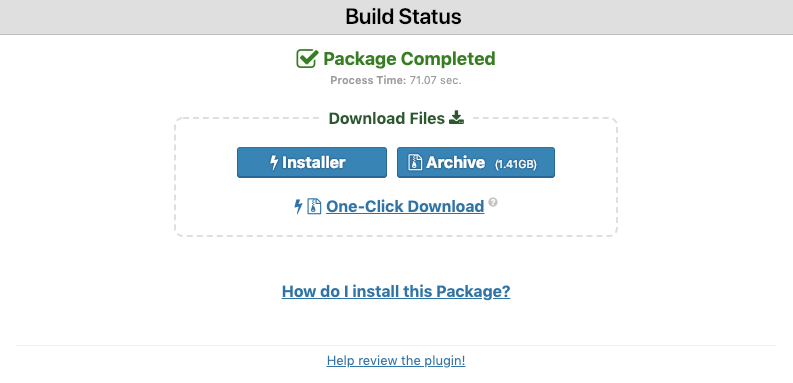

テストサーバー:InstallerとArchiveをダウンロード
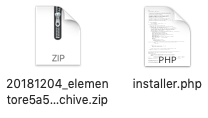
2つのファイルを選択しデスクトップにダウンロードします。
これでテストサーバーのWordPressで作成したElementorデータ一式を用意できました。テストサーバーの作業は以上です。
本番サーバー:InstallerとArchiveをFTPでアップロード
本番サーバーへ2つのファイルをFTPなどでアップロードします。
インストールする前に本番サーバーへ新規データベースを作成します。
以下エックスサーバーの例(ご自分のデータベースをご確認ください)
●ホスト mysqlXXXX.xserver.jp
●データベース aaa
●ユーザー bbb
●パスワード ccc
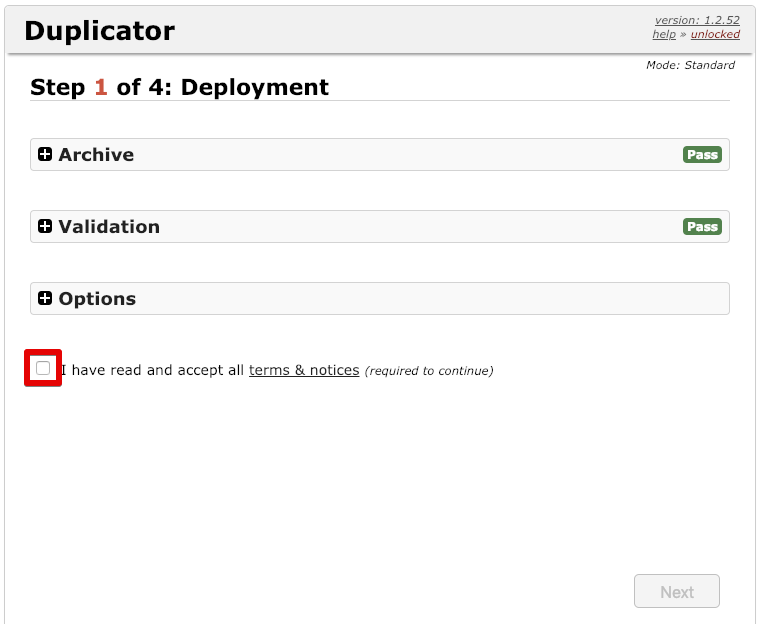
アップロードinstaller.phpの以下URLへアクセスします。
※hogehoge.comは変更ください。
http://hogehoge.com/installer.php
利用規約に同意して次へ進みます。
本番サーバー:新規データベースの入力画面
さきほど作成したデータベースの情報を入力します。

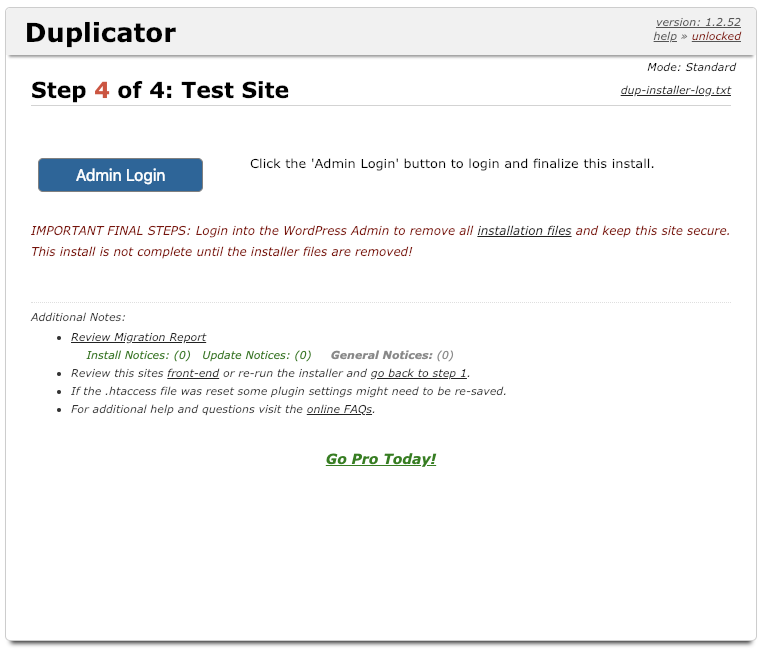
「Next」ボタンを選択、このような画面が表示されたら引っ越し成功です!

このほかにElementorを使う時に一緒に使うと便利なプラグインはこちらで紹介してます。
レンタルサーバーのデータベース設定については
さくらのレンタルサーバーの場合
https://goo.gl/fhNKMf
エックスサーバーの場合
https://goo.gl/HMErLV