前回に引き続きCall to Actionウィジェット。今回はCall to Actionを使ったレイアウトを作ります?
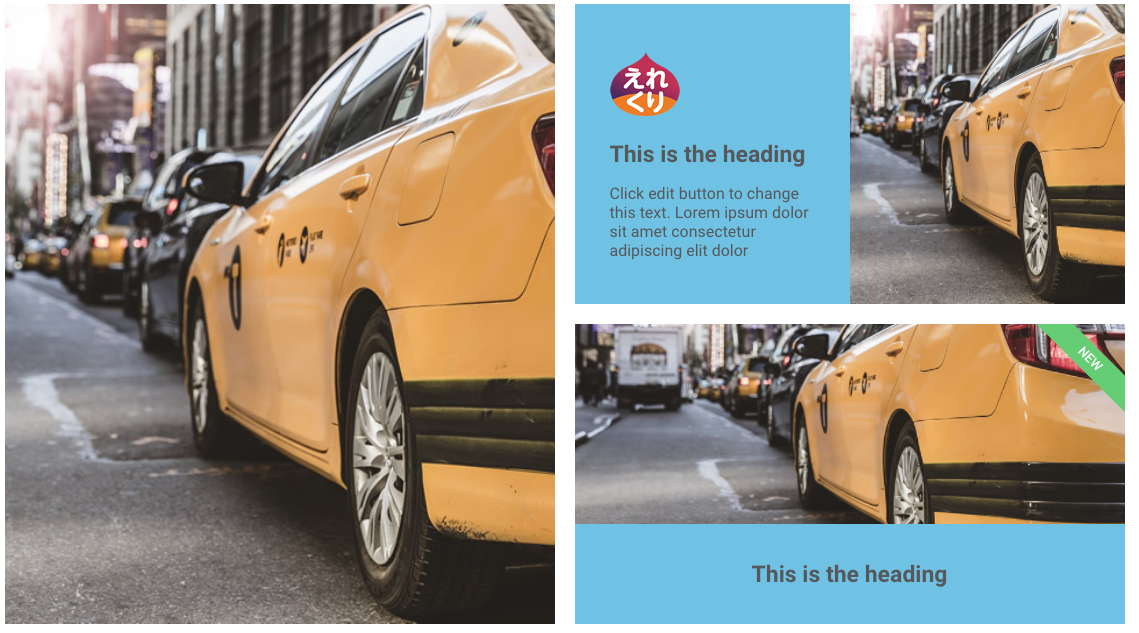
結論先に言っちゃいますがこのデザインを作ります。?
この記事下のDEMOボタンより確認お願いします。
はじめに
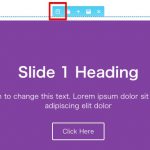
 左パネルの一般エレメント>Call to Actionウィジェットを「新しいセクションの追加」へドラッグ&ドロップ。
適当な写真を選択。左上のカラムからDuplicateカラムを選択します。
左と右のカラムがこのようになりました。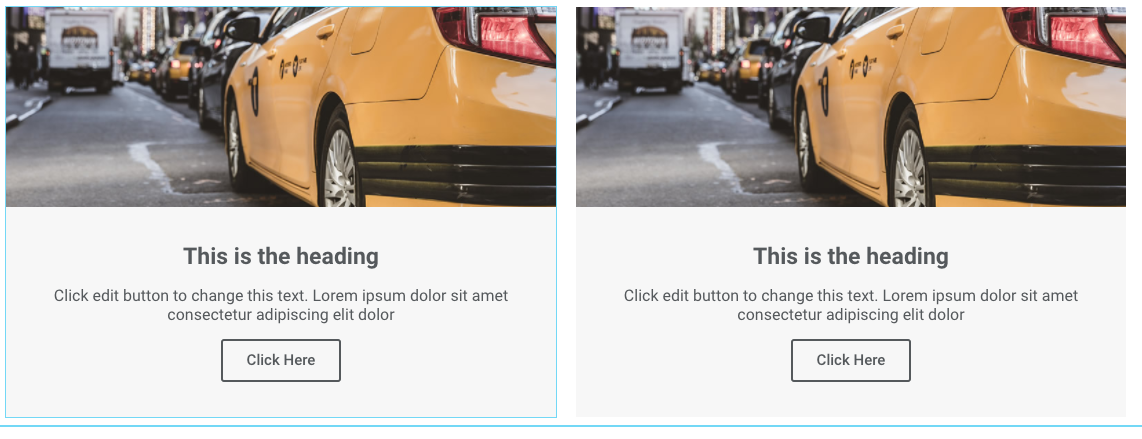
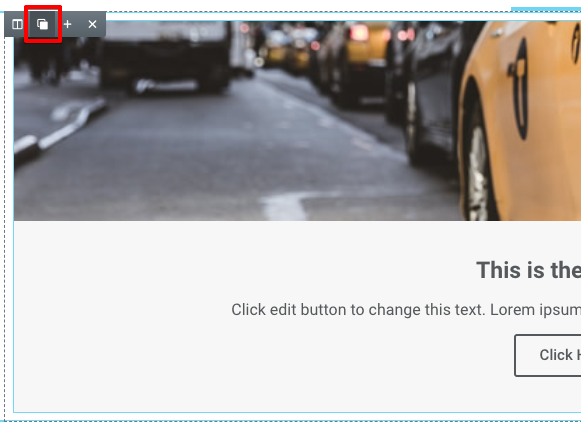
続いて右Call to Actionウィジェットの右上のDuplicate Widgetを選択して複製します。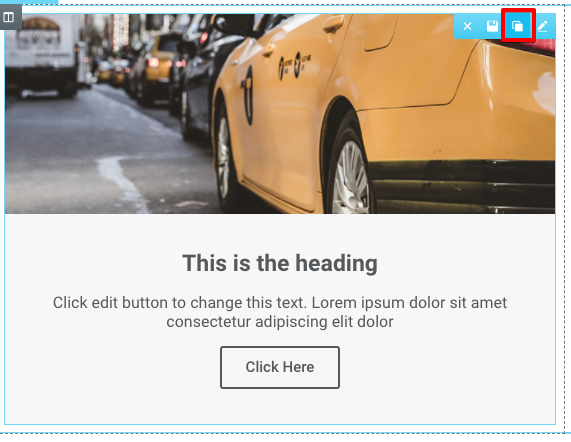
左カラムに1つ。右カラムに2つのCall to Actionが入りました。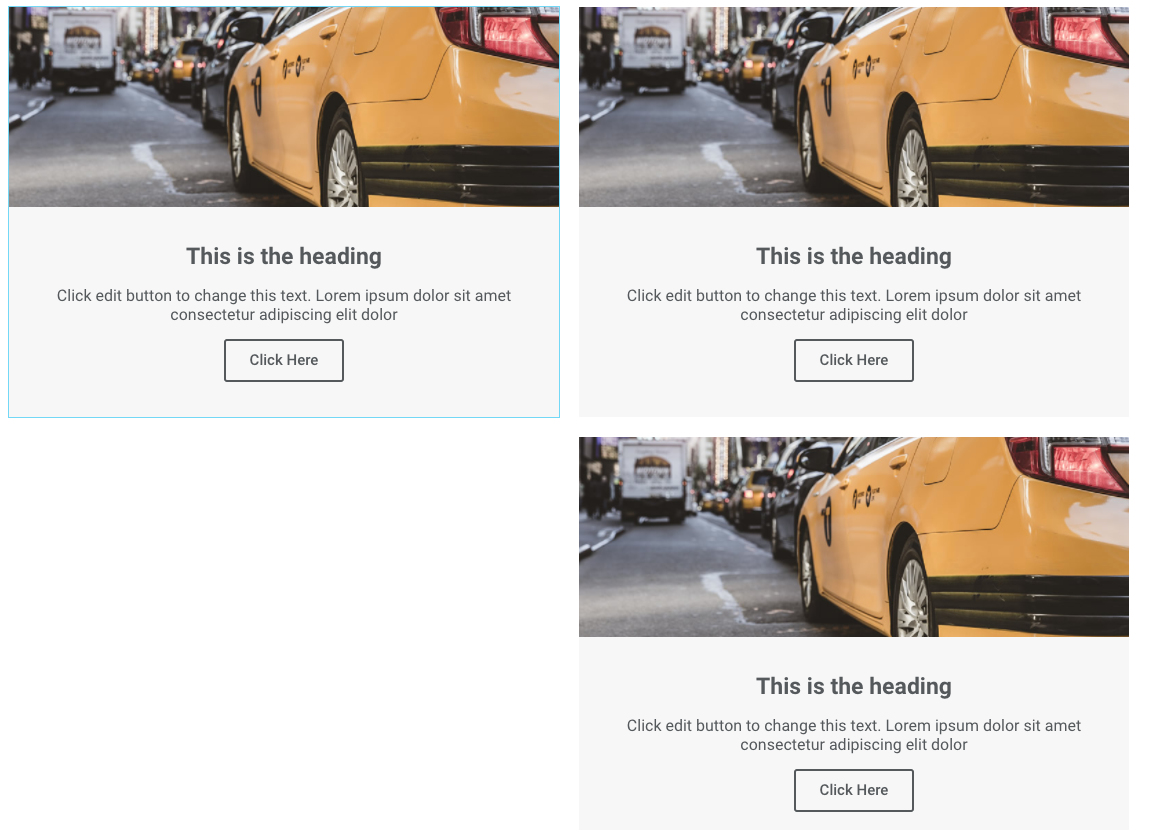
ここからそれぞれのウィジェットの設定を変更していきます。?
左カラムのウィジェットの設定
左パネルのコンテンツエリアよりSkinをCoverに設定。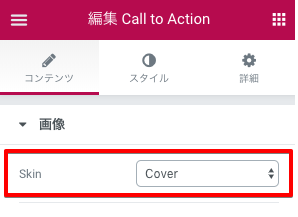
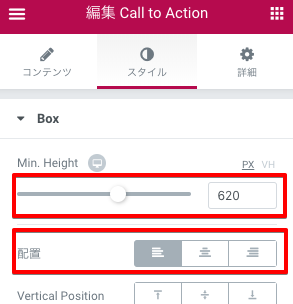
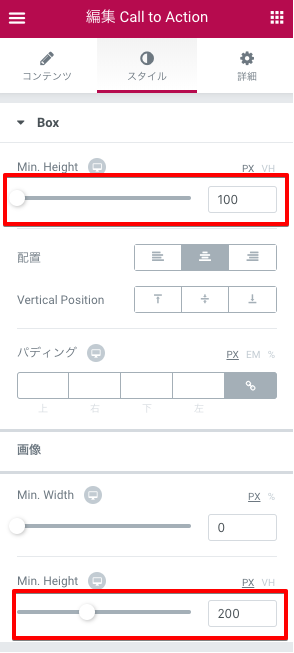
ボックスの全体の高さを600px+20px(空き)にしたいのでスタイルエリアのBoxよりMin. Heightを620とします。
写真にカーソルが重なった時にタイトルと説明文を表示したいのでHovdr EffectsよりHover AnimationをSlide in Right(画面右から登場)を選択します。

右カラムのウィジェット(上)の設定
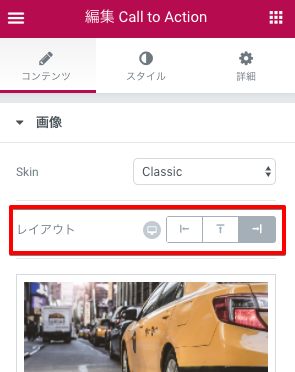
画像を右に寄せたいのでコンテンツエリアの画像 レイアウトの右を選択します。
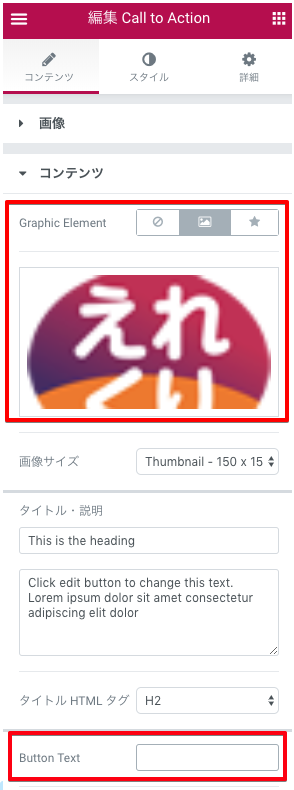
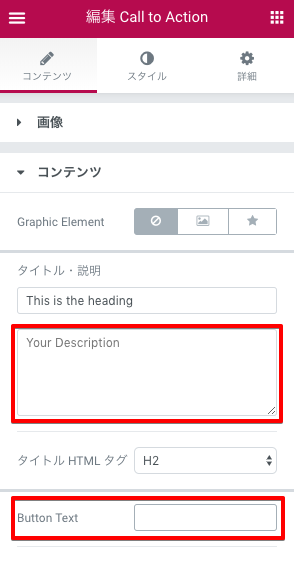
続いてコンテンツの上にロゴを表示したいので、コンテンツGraphic Elementから透過のGIFまたはPNGを選択します。ボタンは入れないのでButton Textを空欄にします。
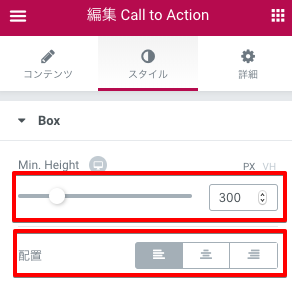
スタイルエリアのBoxより、右カラムの上下それぞれの高さを300pxにします(全体の高さを600pxとしているため)。なのでMin. Heightを300。配置を左揃えにします。
コンテンツより背景色を水色にしました。

右カラムのウィジェット(下)の設定
続いて右カラム下のウィジェットの設定をします。
コンテンツエリアのコンテンツの説明文とButton Textを空欄にします。
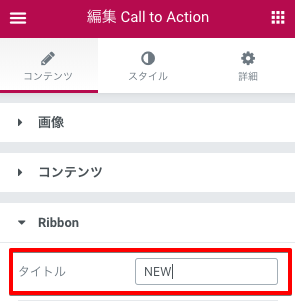
右上にRibbonを表示したいのでRibbonにNEWと入れます。
スタイルエリアのBoxより、このウィジェットの高さを300pxにしたいのでBox 100 画像 200 とします。ここは2つ合わせて300になれば良いです。
あとがき
Min. Heightを調整してプレビューした時にうまくいかないときはブラウザのキャッシュを疑いましょう。?以下の記事ご参考に。
https://elecre.net/2018/02/11/post-1548-2-2/